On this page:
Digitizing features and editing attributes
Digitizing is the process of capturing areas of rasters (scanned maps, satellite images, etc.) in vector format. Attributes will need to be added to the captured features to properly describe and identify them.
Digitizing in Google Earth
Google Earth has both desktop and online versions. For simplicity, we will use the online version.
- In your web browser (Edge/Chrome) go to earth.google.com
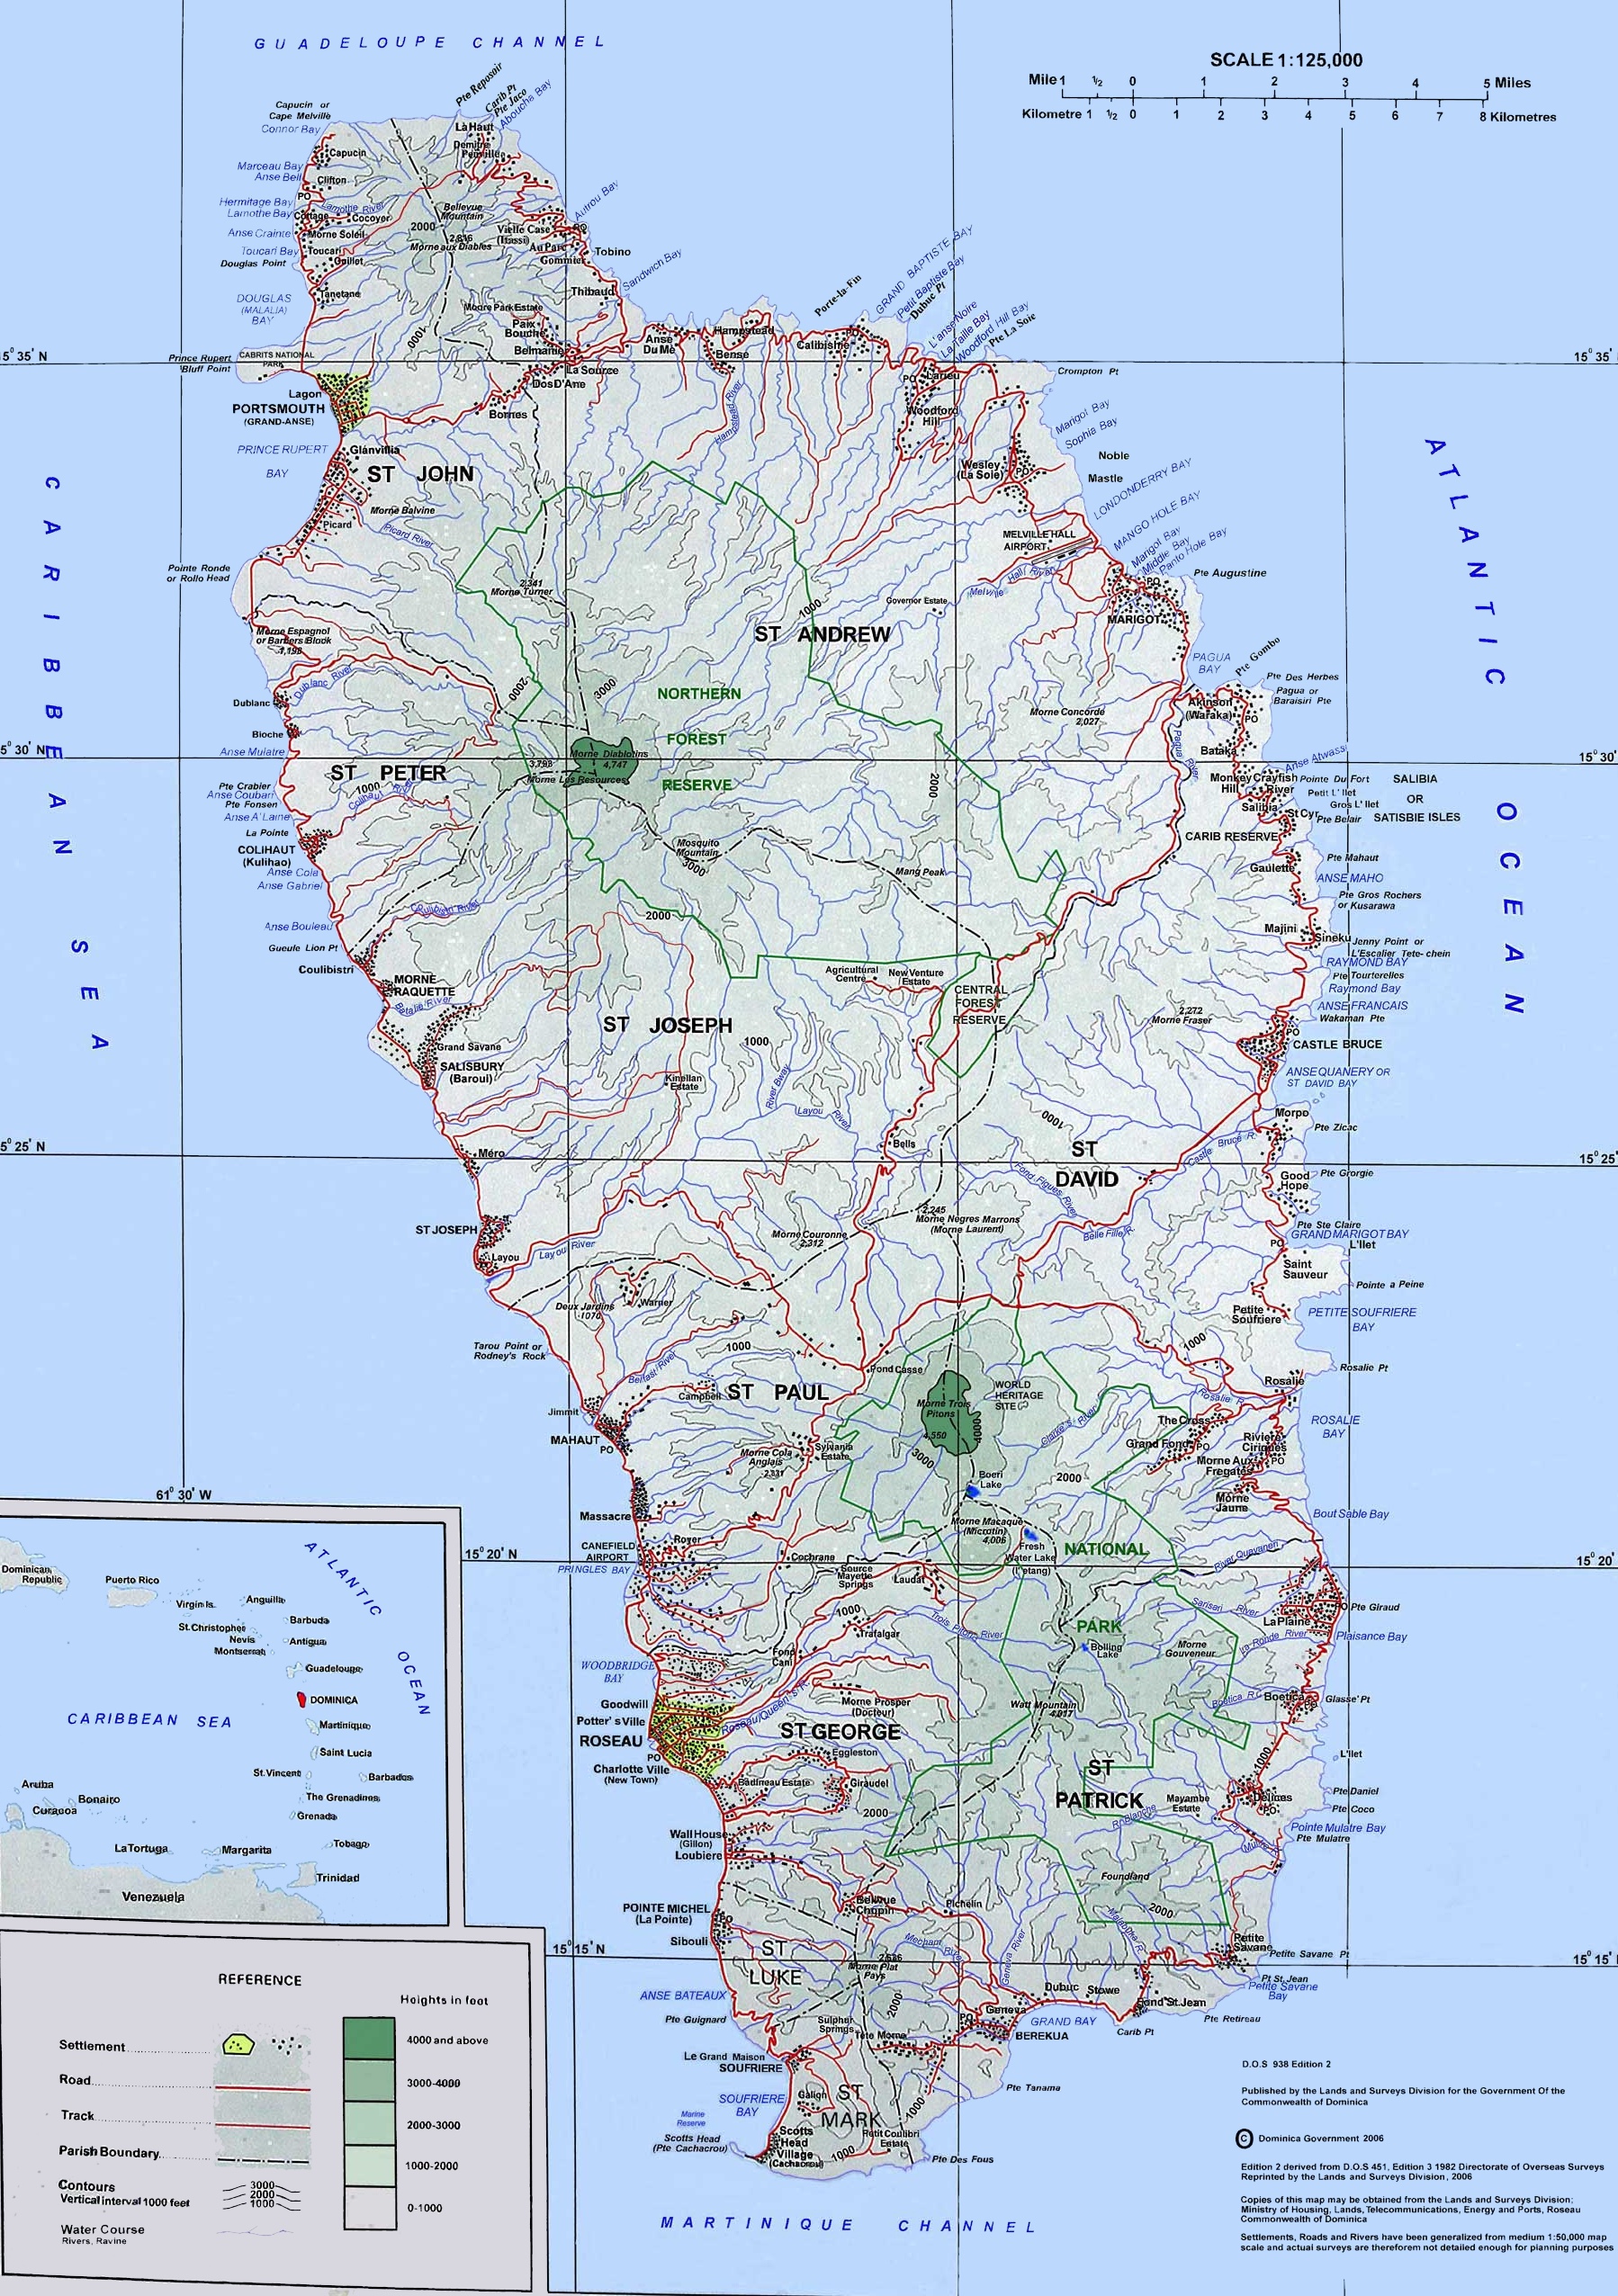
- Drag and zoom the map to Dominica.
- Find an area of interest you wish to capture. Zoom in to this area.
- Click on the
Add path or polygonicon at the top of the page. - Draw a polygon around the feature/area you wish to digitize by clicking around the feature. To complete the process, double-click when you reach the start point again.
- Click
Save to project. - Save feature to
Local KML file. Google’s vector file type is KML/KMZ. - Name the file.
- On the left, under
Local KML files, go to the current project and click the option icon (3 dots). SelectExport as KML file. This will download the file to your computer.
- Try using placemarks instead of polygons to mark points on the map.
- Download the KML file.
- Open the files in QGIS (drag them to the
Layers Panelor add a vector layer).
Convert KML/KMZ to Shapefile in QGIS
- Right-click the .kml/.kmz layer in the
Layers Panel. SelectExport --> Save Featuers As... - In the pop-up window, select
Format --> ESRI Shapefile. - For
File name, browse to save the shapefile. - Leave
CRSas the defaultEPSG:4326 - WGS 84. - Ensure
Add saved file to mapis checked. - Leave all other default settings and click
OK.
The new shapefile will show in the Layers Panel.
Plugins: Using web maps
QGIS uses plugins to add functionality to the software. One such plugin is QuickMapServices which allows basemaps from Google and other services to be loaded directly in the software.
To install a plugin:
- On the menu bar, go to
Plugins --> Manage and Install Plugins.... - Search for and install the
QuickMapServicesplugin.
To load Google Maps:
- On the menu bar, go to
Web --> QuickMapServices --> Google --> Google Hybrid. The Google hybrid map will be added to theLayers Panel.
Digitizing can be done on the web map by following the procedure below. Georeferencing is not needed.
Digitizing scanned maps/rasters in QGIS
The Layer will need to be georeferenced to appear correctly within the country map.
- Load the file into the
Layers Panel. - On the menu bar, go to
Layer --> Create Layer --> New Shapefile Layer.... - Name the file to save the layer to.
- Set the
Geometry typetoPolygonto digitize an area. Point features can be digitized asPointorMultiPoint. Linear features such as paths and boundaries may be digitized asLineString. - Notice that the
Fields Listalready has an integeridto identify each unique feature. UnderNew Field, add a newstringfield for the name of the area to be digitized. - Click
OKwhen you are finished. - Ensure the
Digitizing Toolbaris active. - On the map layer, zoom to the area to be digitized.
- Click the
Toggle Editing(pencil) icon. - Click the
Add Polygon Feature(green) icon. - Click each corner of the area to draw the polygon. Right click to complete the polygon.
- Enter the feature details when prompted.
- On the
Digitizing Toolbar, clickSave Layer Edits.
Updating the Attribute Table in QGIS
You may need to add fields and data to a vector layer’s attribute table. You can add and delete fields, edit data and perform various operations, using the attribute table’s menu. To add a new field and data:
Right-clickthe layer and selectOpen Attribute Table.- Click the
New fieldicon. - In the popup dialog box, give the field a name, select an appropriate data type and length. You may also add a comment to describe the field.
- Click
OKwhen done. - Enter the desired data into the new field of the attribute table.
- Click the
Save editsicon.
Adding data from GPS devices
Add XY Data (GPS data):
- Go to
Layer menu --> Add --> Add Delimited Text Layer. - Set the following:
Input =
FarmCoordCSVfile.
Specify the output Name and Location.
X and Y fields =
XcoordandYcoord, respectively.
CRS =
EPSG 2002: Dominica 1945 / British West Indies Grid.
Geometry Definition = Point coordinates.
- Click
OKto finish the import. - Export the temporary XY event layer to a shapefile.